The Great Gantry Crane Adventure: A Tale of Steel, Sweat, and Shop Jenga
Building a custom gantry crane isn’t for the faint of heart—especially when you’re a one-man shop. But when a hopeful contract (I’m still waiting… still waiting…) gave me the push I needed, I knew it was time to roll up my sleeves and take on one of the most challenging builds of my career. Armed with 3″x3″x3/16″ steel tubing, a 4″ x 4.5″ I-beam, and an unrelenting sense of determination, I set out to create a beast of a crane.
Specs of the Beast
- Height: Just over 10 feet tall
- Width: 11 feet wide
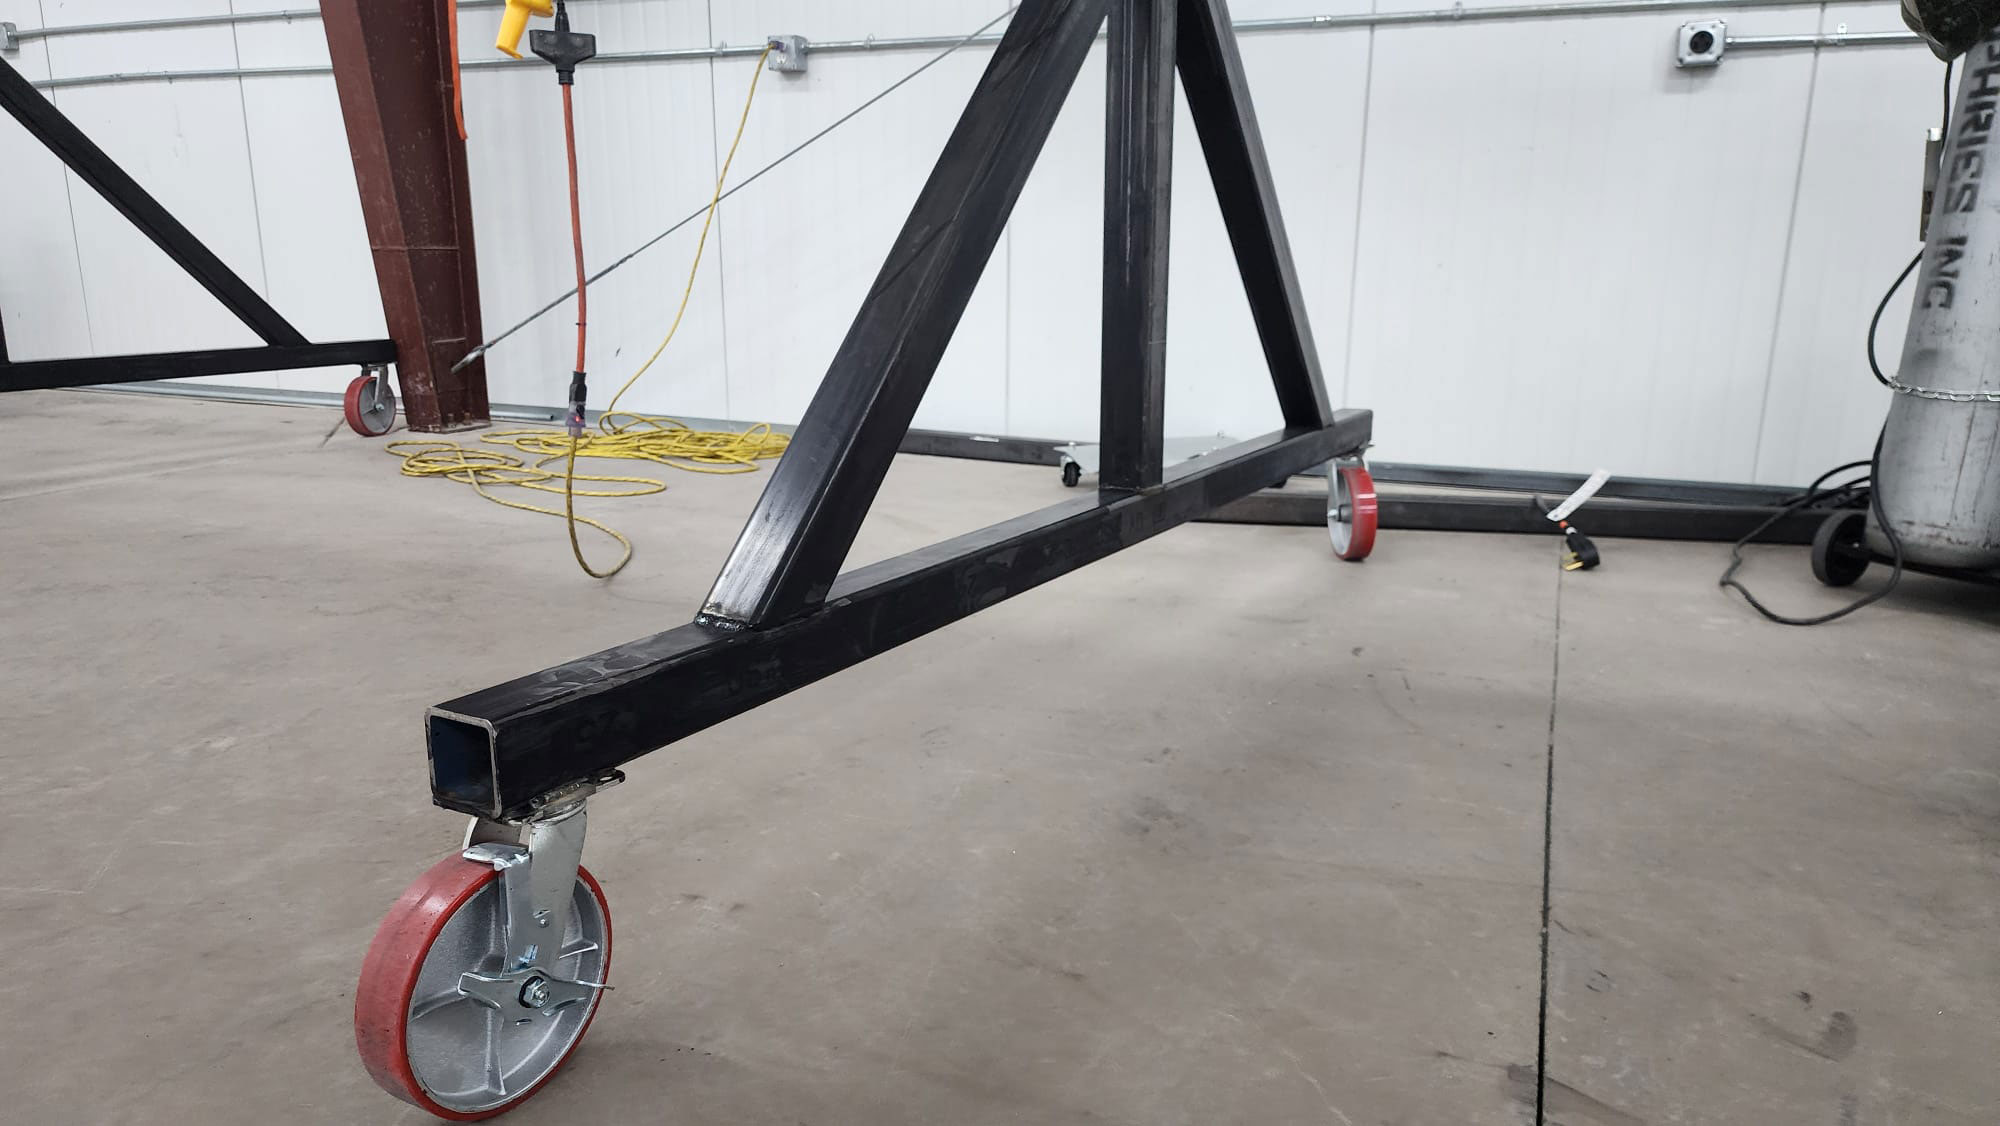
- Materials: 3″x3″x3/16″ steel tubing with a 4″ x 4.5″ x 0.25″ thick I-beam
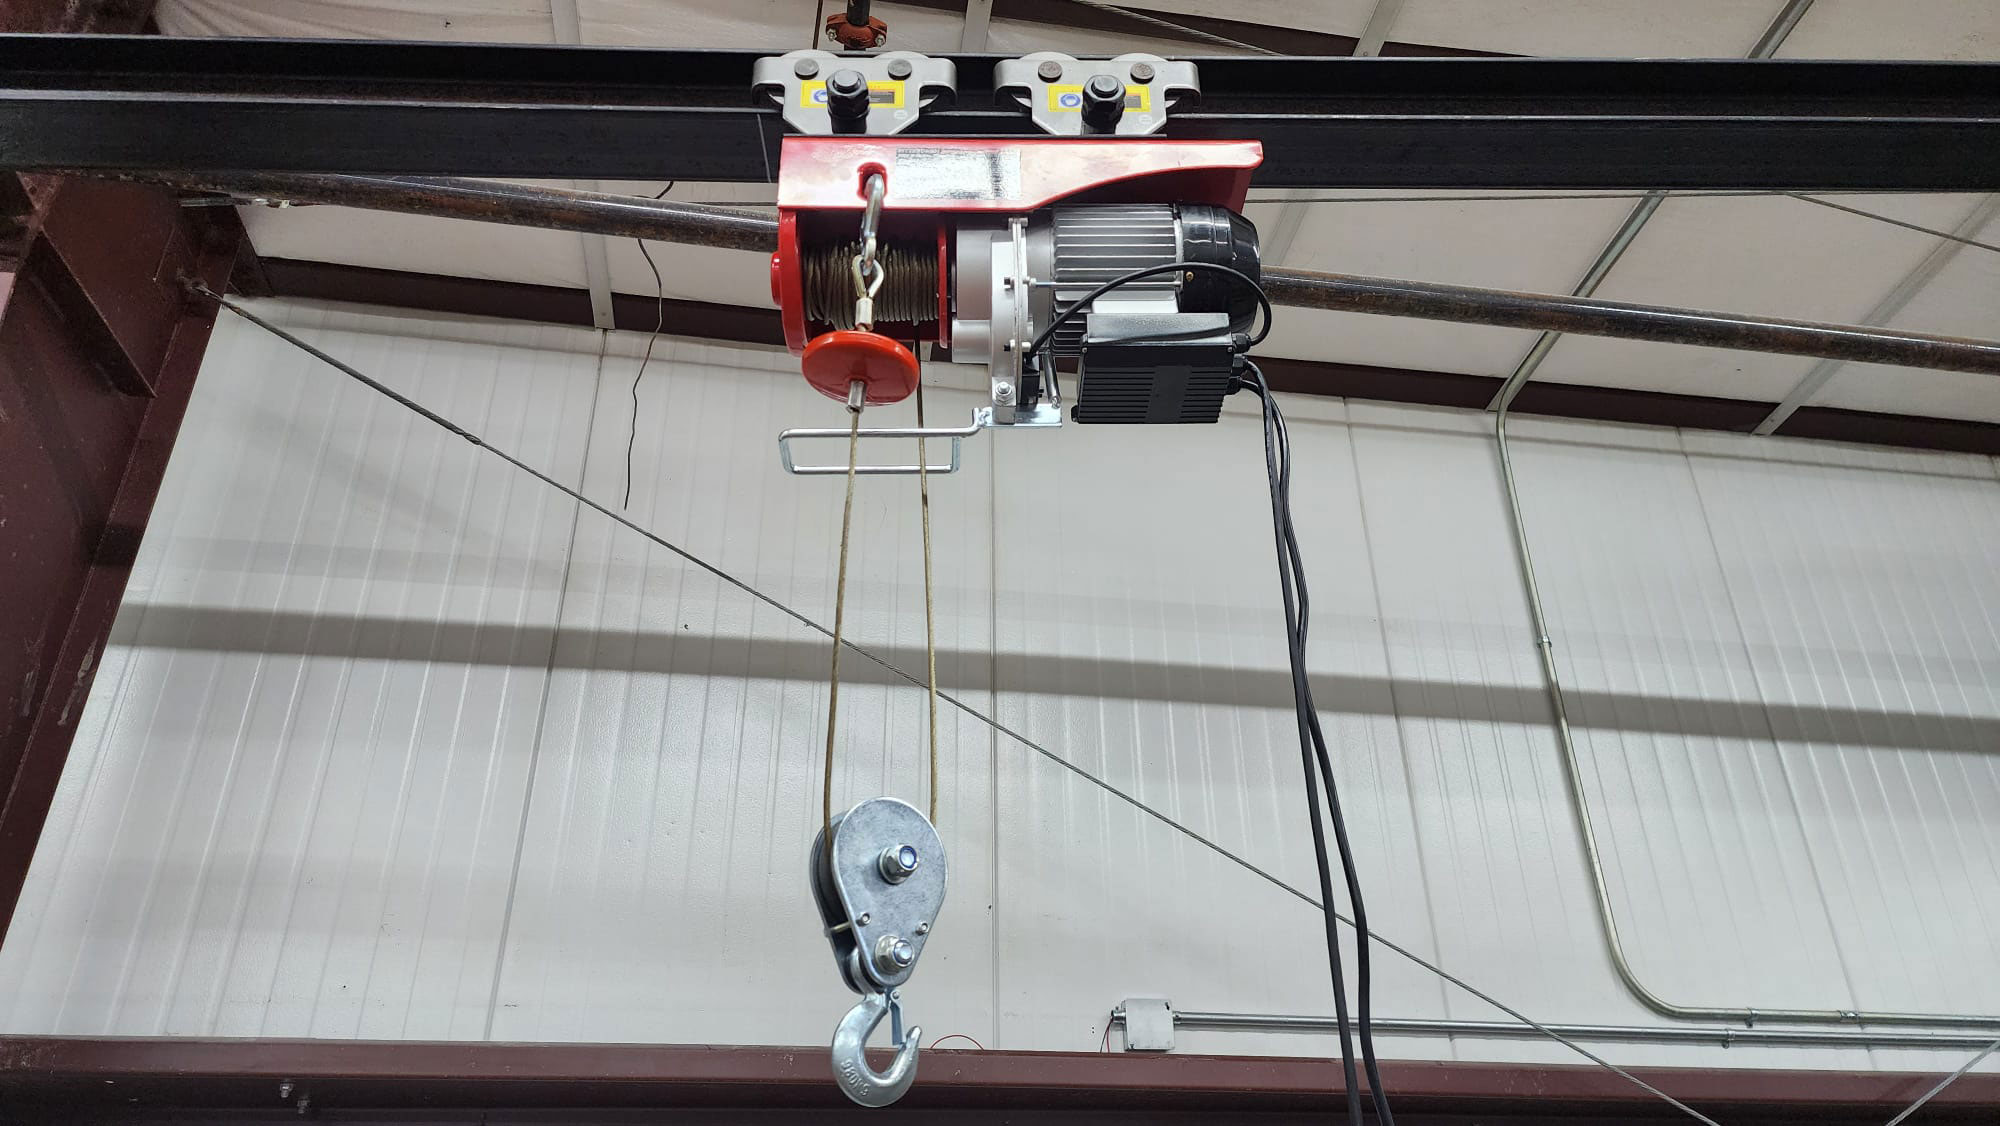
- Lift Capacity (with a twist): 2,000 lbs electric hoist rigged up to a snatch block
- Mobility: 8″x2″ swivel casters with brakes, boasting a load capacity of 6,000 lbs each
Oh, and that I-beam? Weighing in at approximately 127 lbs, it may not seem like much on paper, but when you’re lifting it overhead and wrestling it into place, it feels more like Frodo’s One Ring: small but impossibly heavy when it matters most.
The entire crane, with all its components, weighs in at a solid 421 lbs—a testament to its strength, stability, and my willingness to push my limits (and patience).
The Magic of Mechanical Advantage
Here’s where the fun starts: the 2,000 lb electric hoist is paired with a snatch block to double its lifting capacity. For those unfamiliar with the mechanics, a snatch block is a pulley system that distributes the load across multiple lines, effectively halving the effort required.
- Without the snatch block: The hoist handles the full 2,000 lbs directly.
- With the snatch block: The load is split, allowing the system to lift up to 4,000 lbs—twice the hoist’s rated capacity.
Now, before you start imagining me hoisting elephants, let me be clear: the system is only as strong as its weakest link. Luckily, this crane was built with overkill-grade materials (thanks to that 3″x3″x3/16″ steel tubing and 4″x4.5″ I-beam), so it’s ready to handle serious jobs safely and efficiently.
This isn’t just a gantry crane—it’s a superhero in steel, ready to take on heavy equipment, steel beams, and other hefty challenges.
Phase 1: Building the Frame
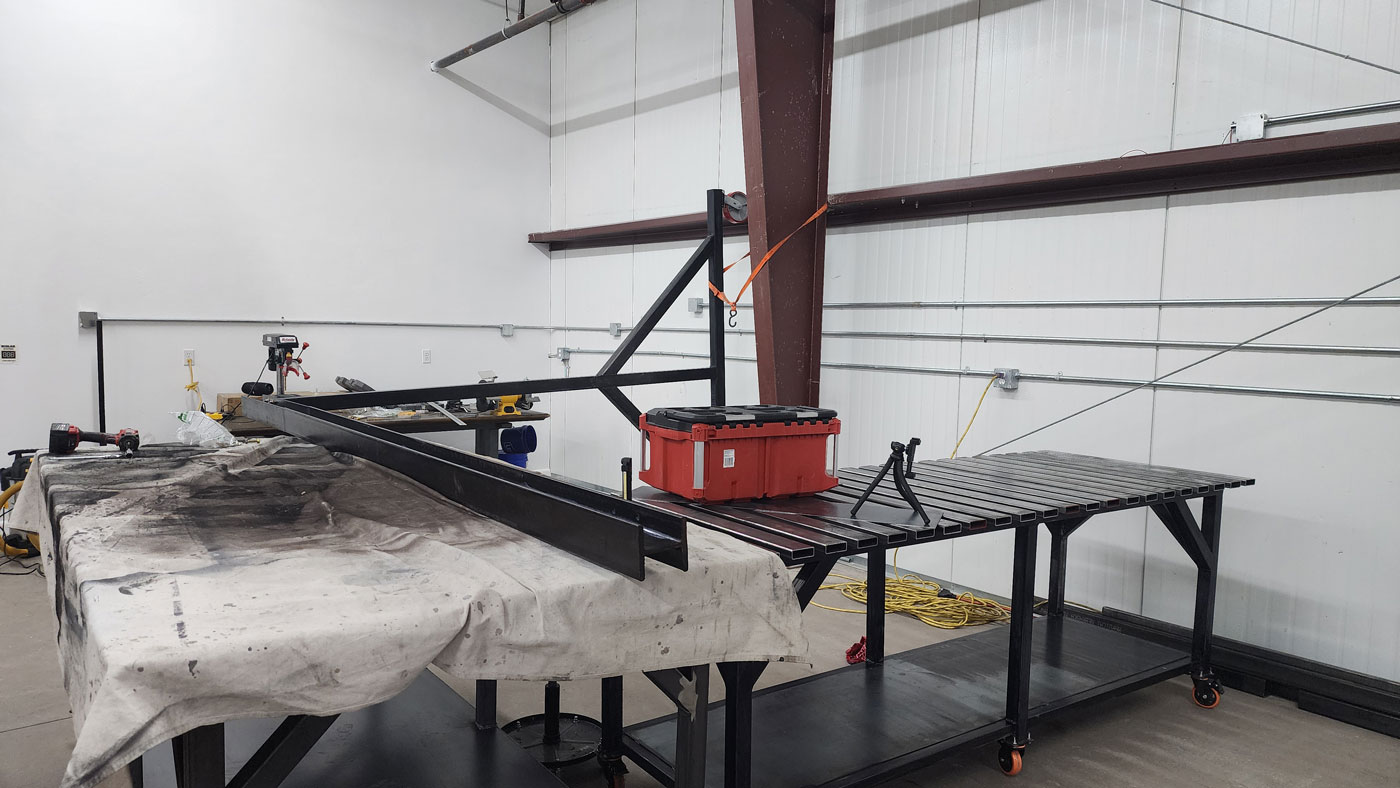
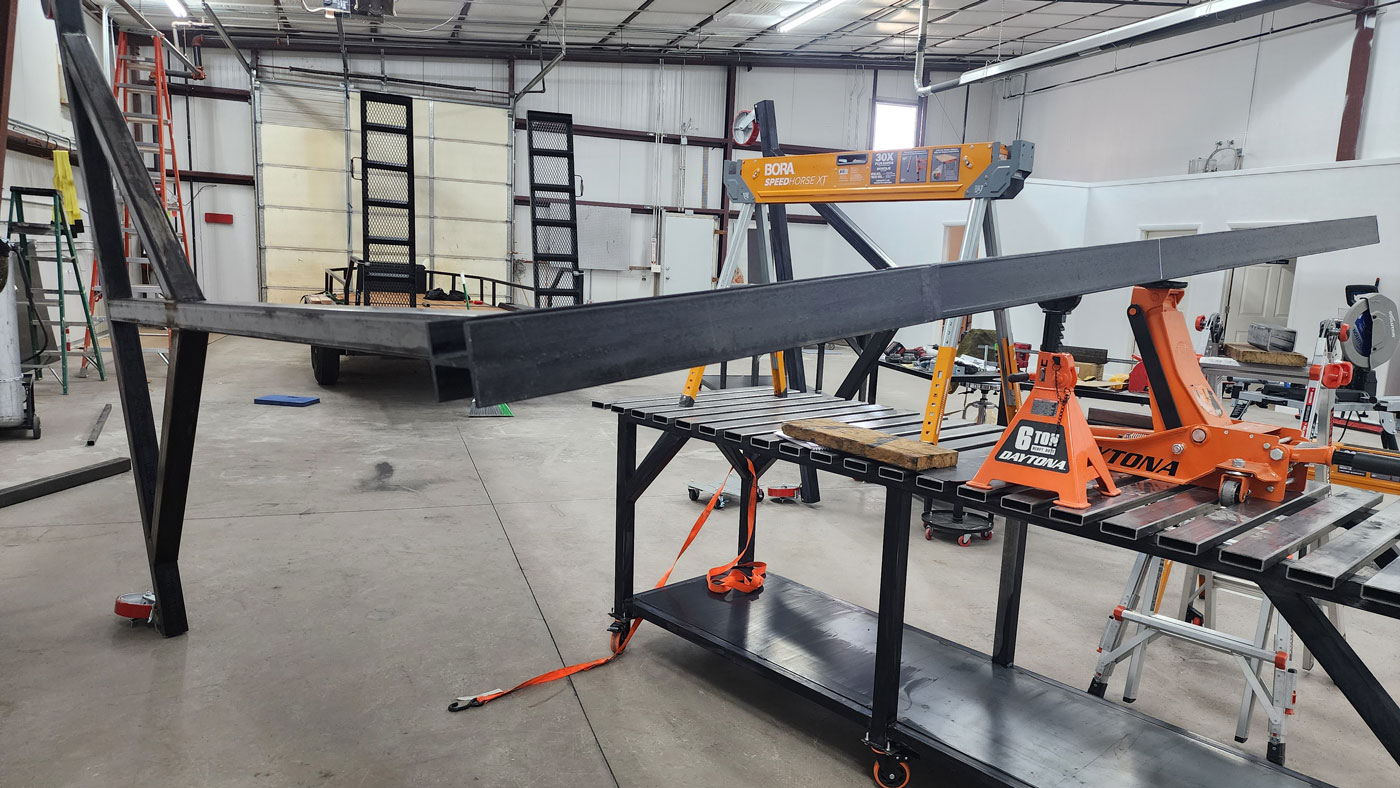
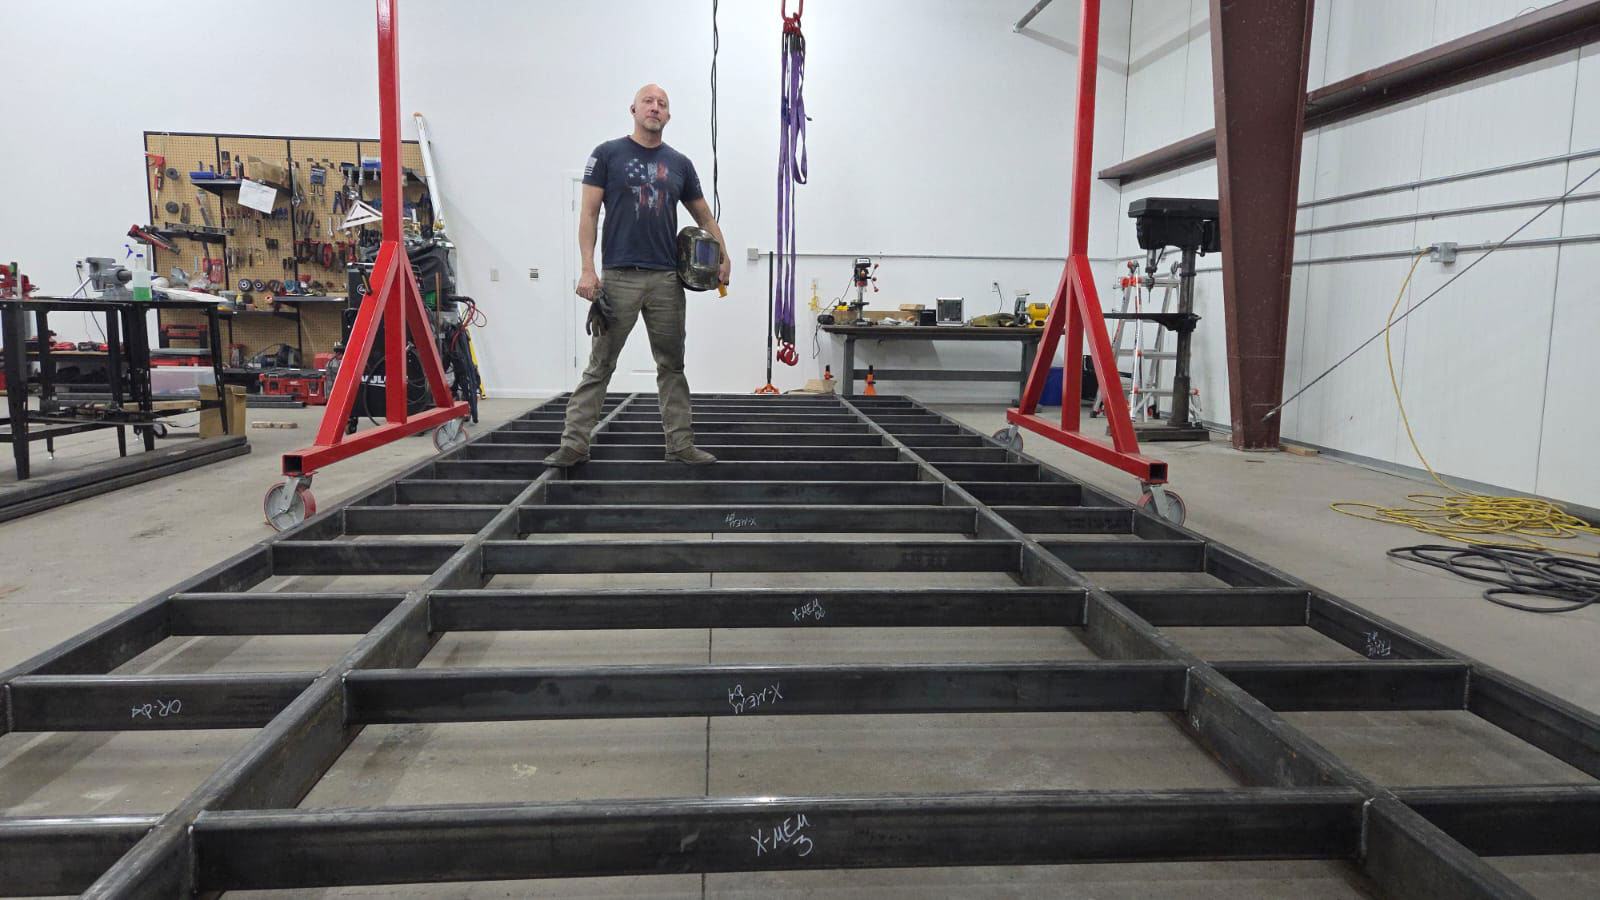
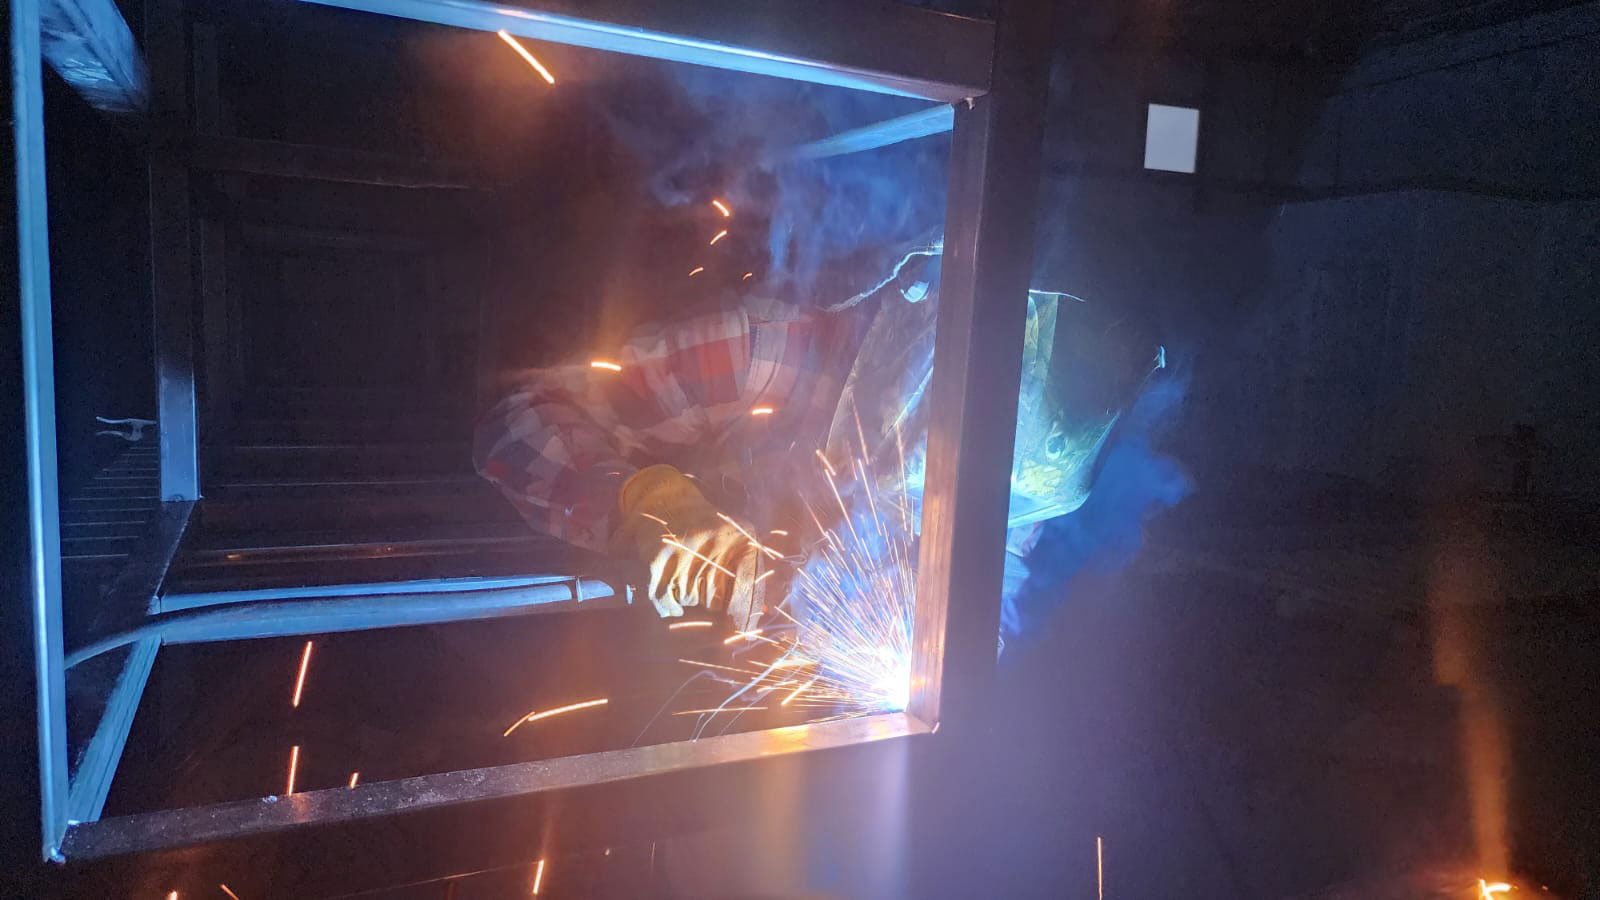
Cutting and welding the legs and gussets was the easy part—shoutout to my amazing workbench for making it possible (seriously, check it out in my other blogs). Once that was done, the real fun began: figuring out how to secure the 4″ I-beam on top of the structure.
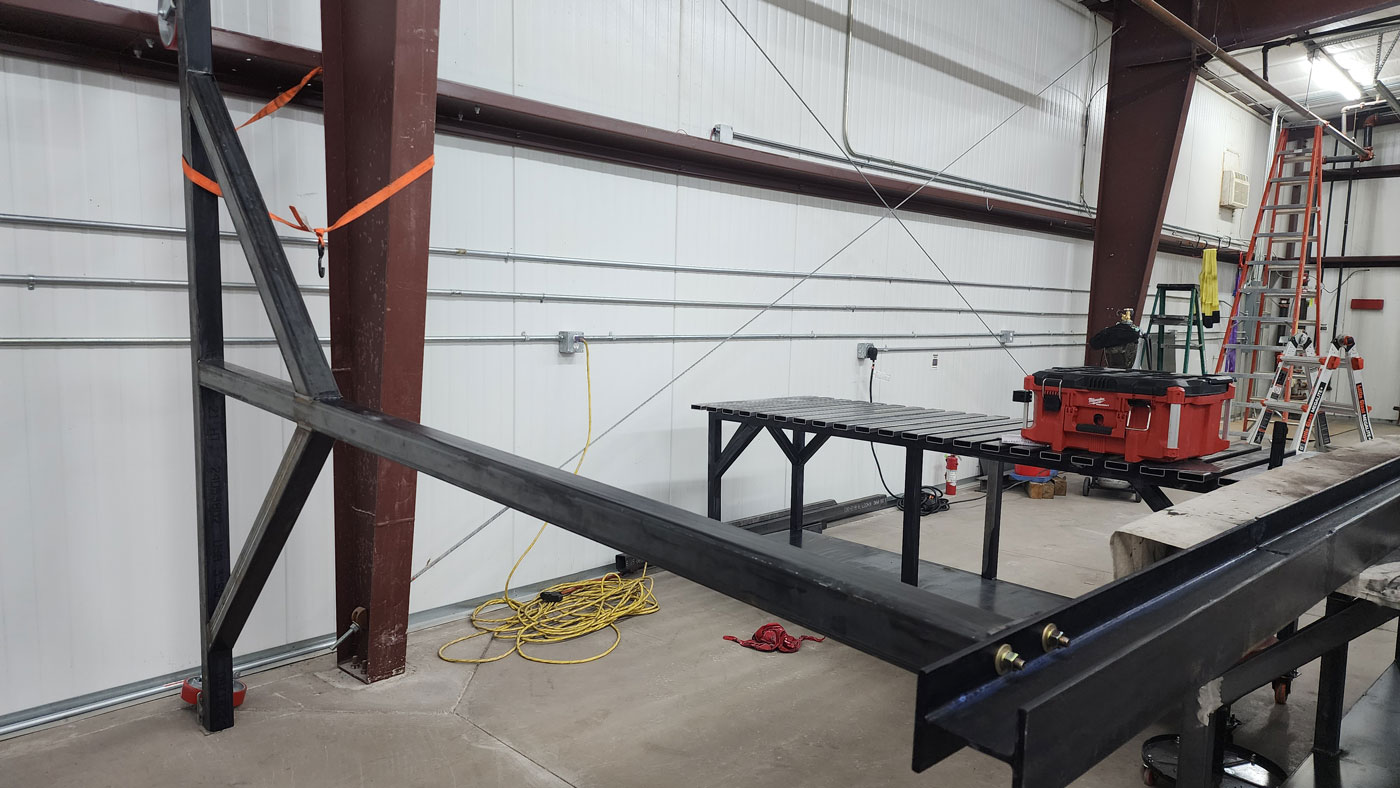
After drilling four perfectly aligned holes into the I-beam and creating matching base plates, I started the delicate dance of attaching it to the legs. With tie-downs, rope, steel supports from my shop walls, car tire dollies, and my trusty workbench, I managed to hoist the beam into position. It was like trying to balance a sword on a toothpick—stressful but satisfying when it finally clicked.
Phase 2: Tipping the Crane Upright
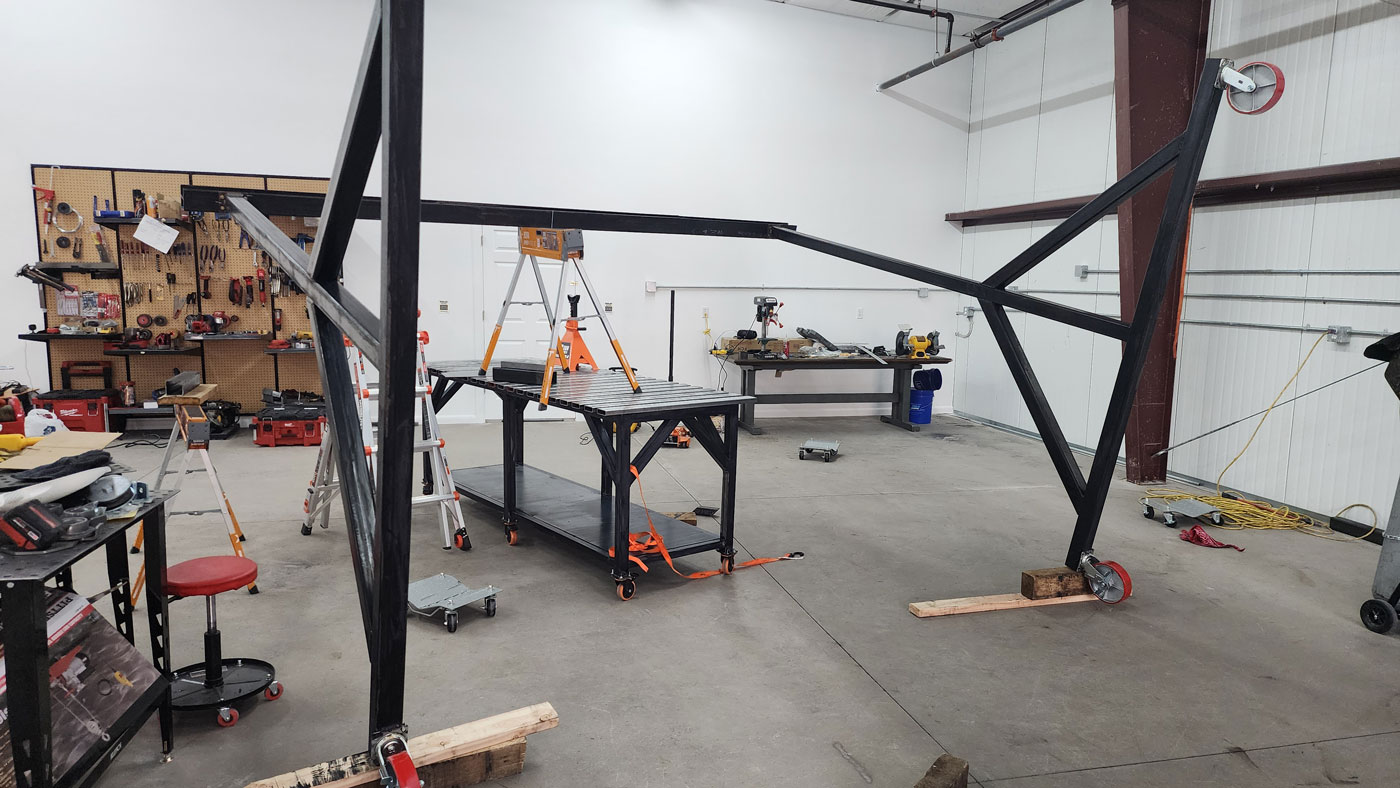
The frame was complete, and now I faced my next challenge: tipping this 421-lb marvel upright onto its casters. The plan? A combination of brute strength, a 6-ton car jack, jack stands, and my trusty “let’s-figure-it-out-as-we-go” attitude.
I propped the frame higher and higher, stacking it on a sawhorse perched on my workbench. But every time I lifted it, the crane swayed like a drunken sailor, and I could feel disaster waiting in the wings.
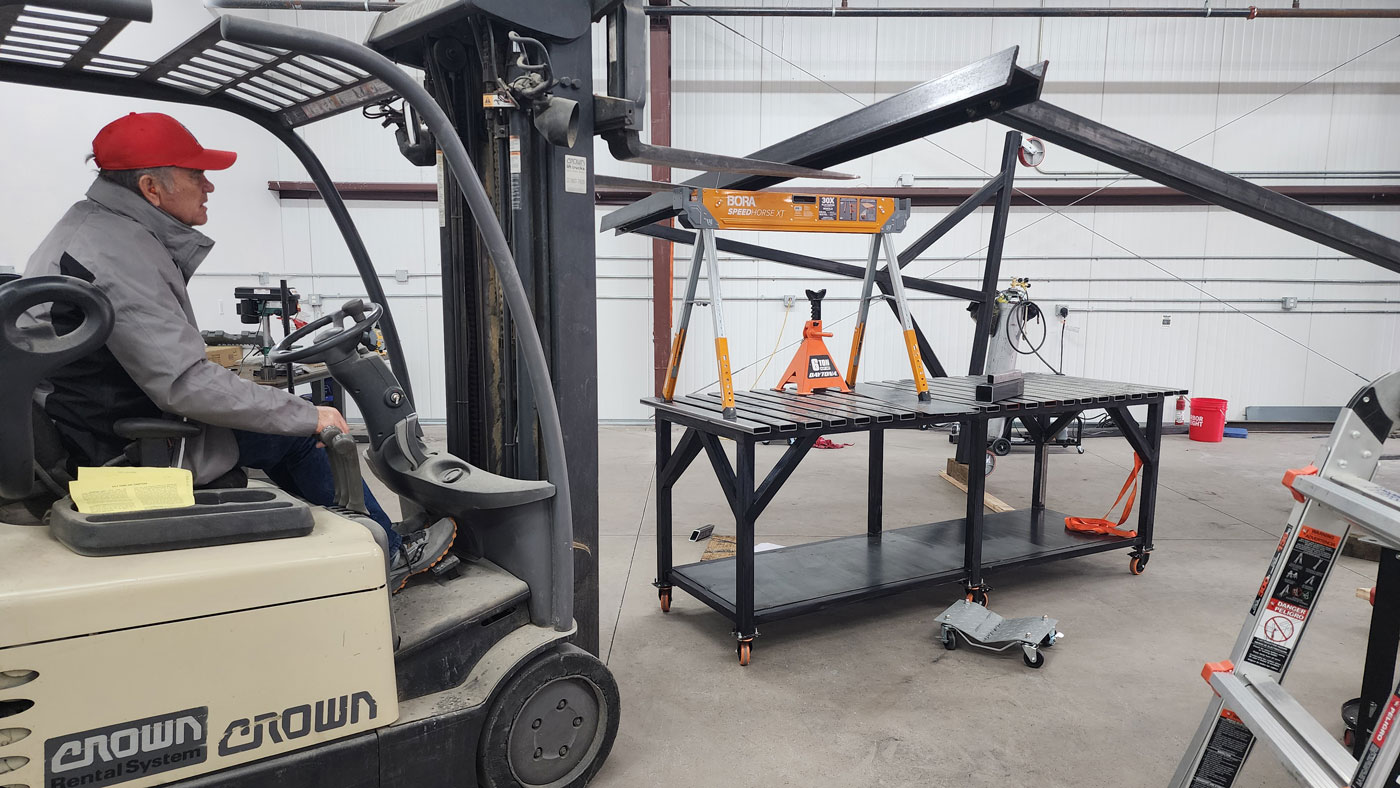
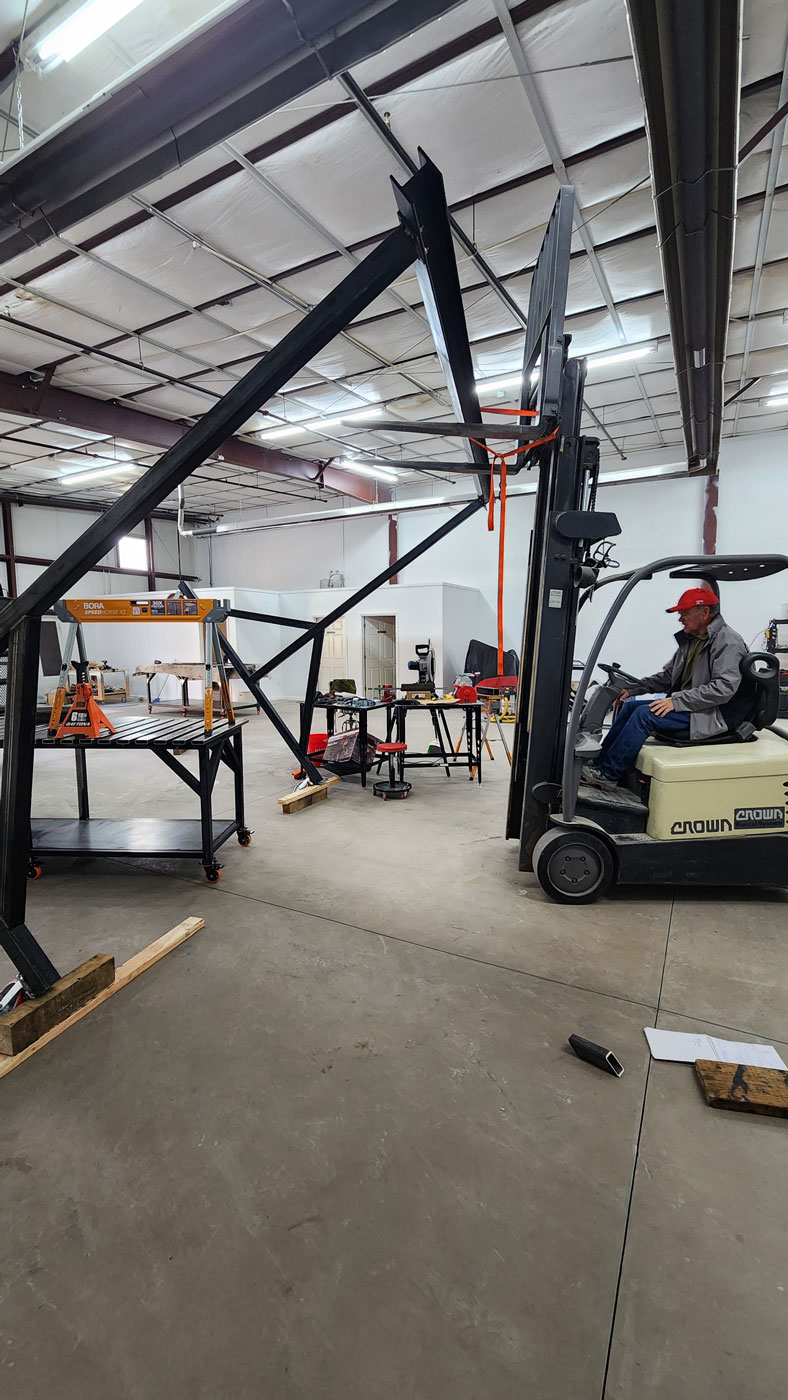
Enter my landlord—my literal angel with a forklift. With a little teamwork and a lot of relief, we got the crane upright. It was one of those moments where I wished I had a dramatic soundtrack playing in the background.
Phase 3: Installing the Hoist
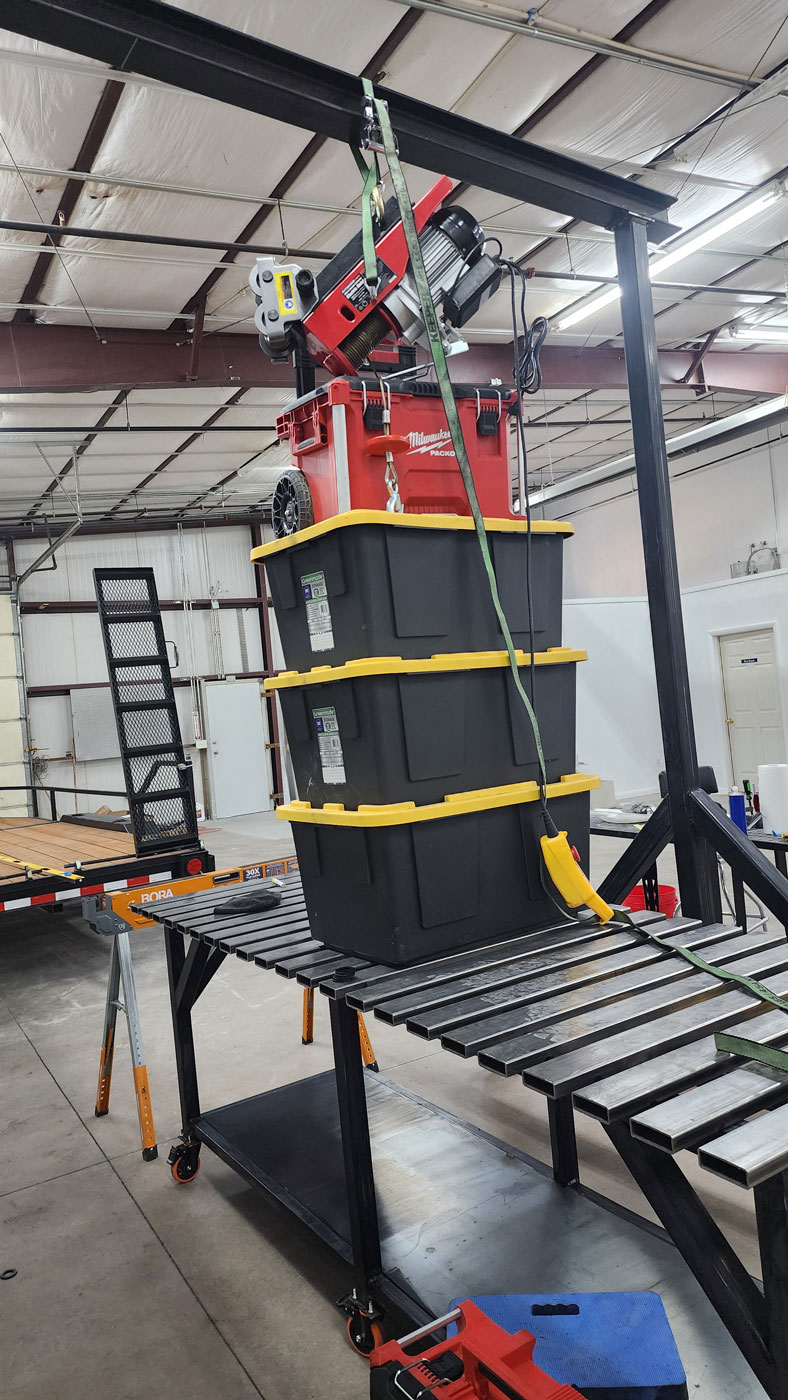
With the crane standing tall, I still had one final hurdle: attaching the 80-lb electric hoist to the trolley system on the I-beam. Okay, let’s be real—it felt closer to 125 lbs when I was maneuvering it 10 feet in the air.
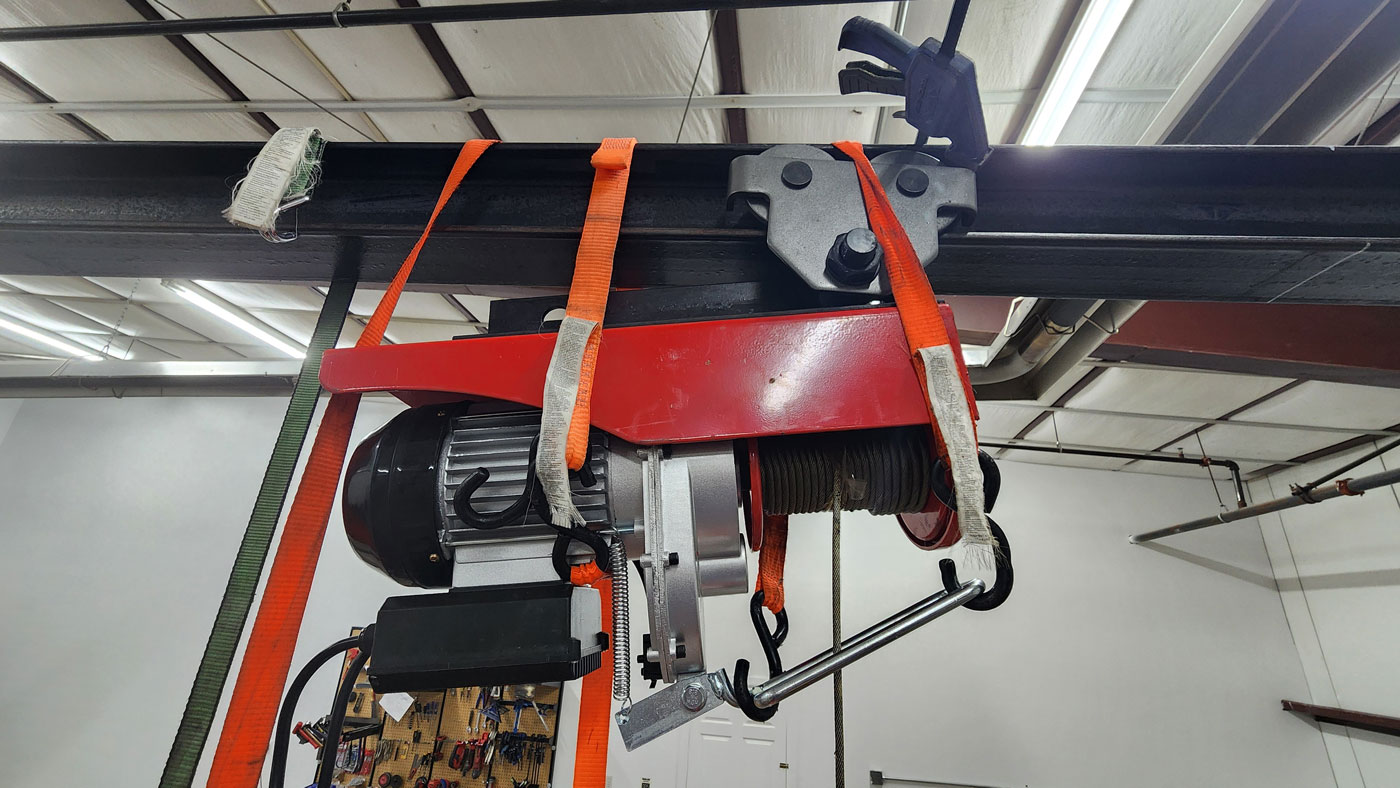
I played an intense game of “Shop Jenga,” stacking Costco storage bins filled with camping gear, Milwaukee Packouts, and anything else that could hold weight. Still not high enough, I turned to my trusty ratchet straps, inching the hoist upward until I could slide the trolley wheels onto the I-beam.
When it finally locked into place, I felt like Frodo after throwing the One Ring into Mount Doom—exhausted, relieved, and wondering how I pulled it off without dying.
The Result: A Standing Marvel
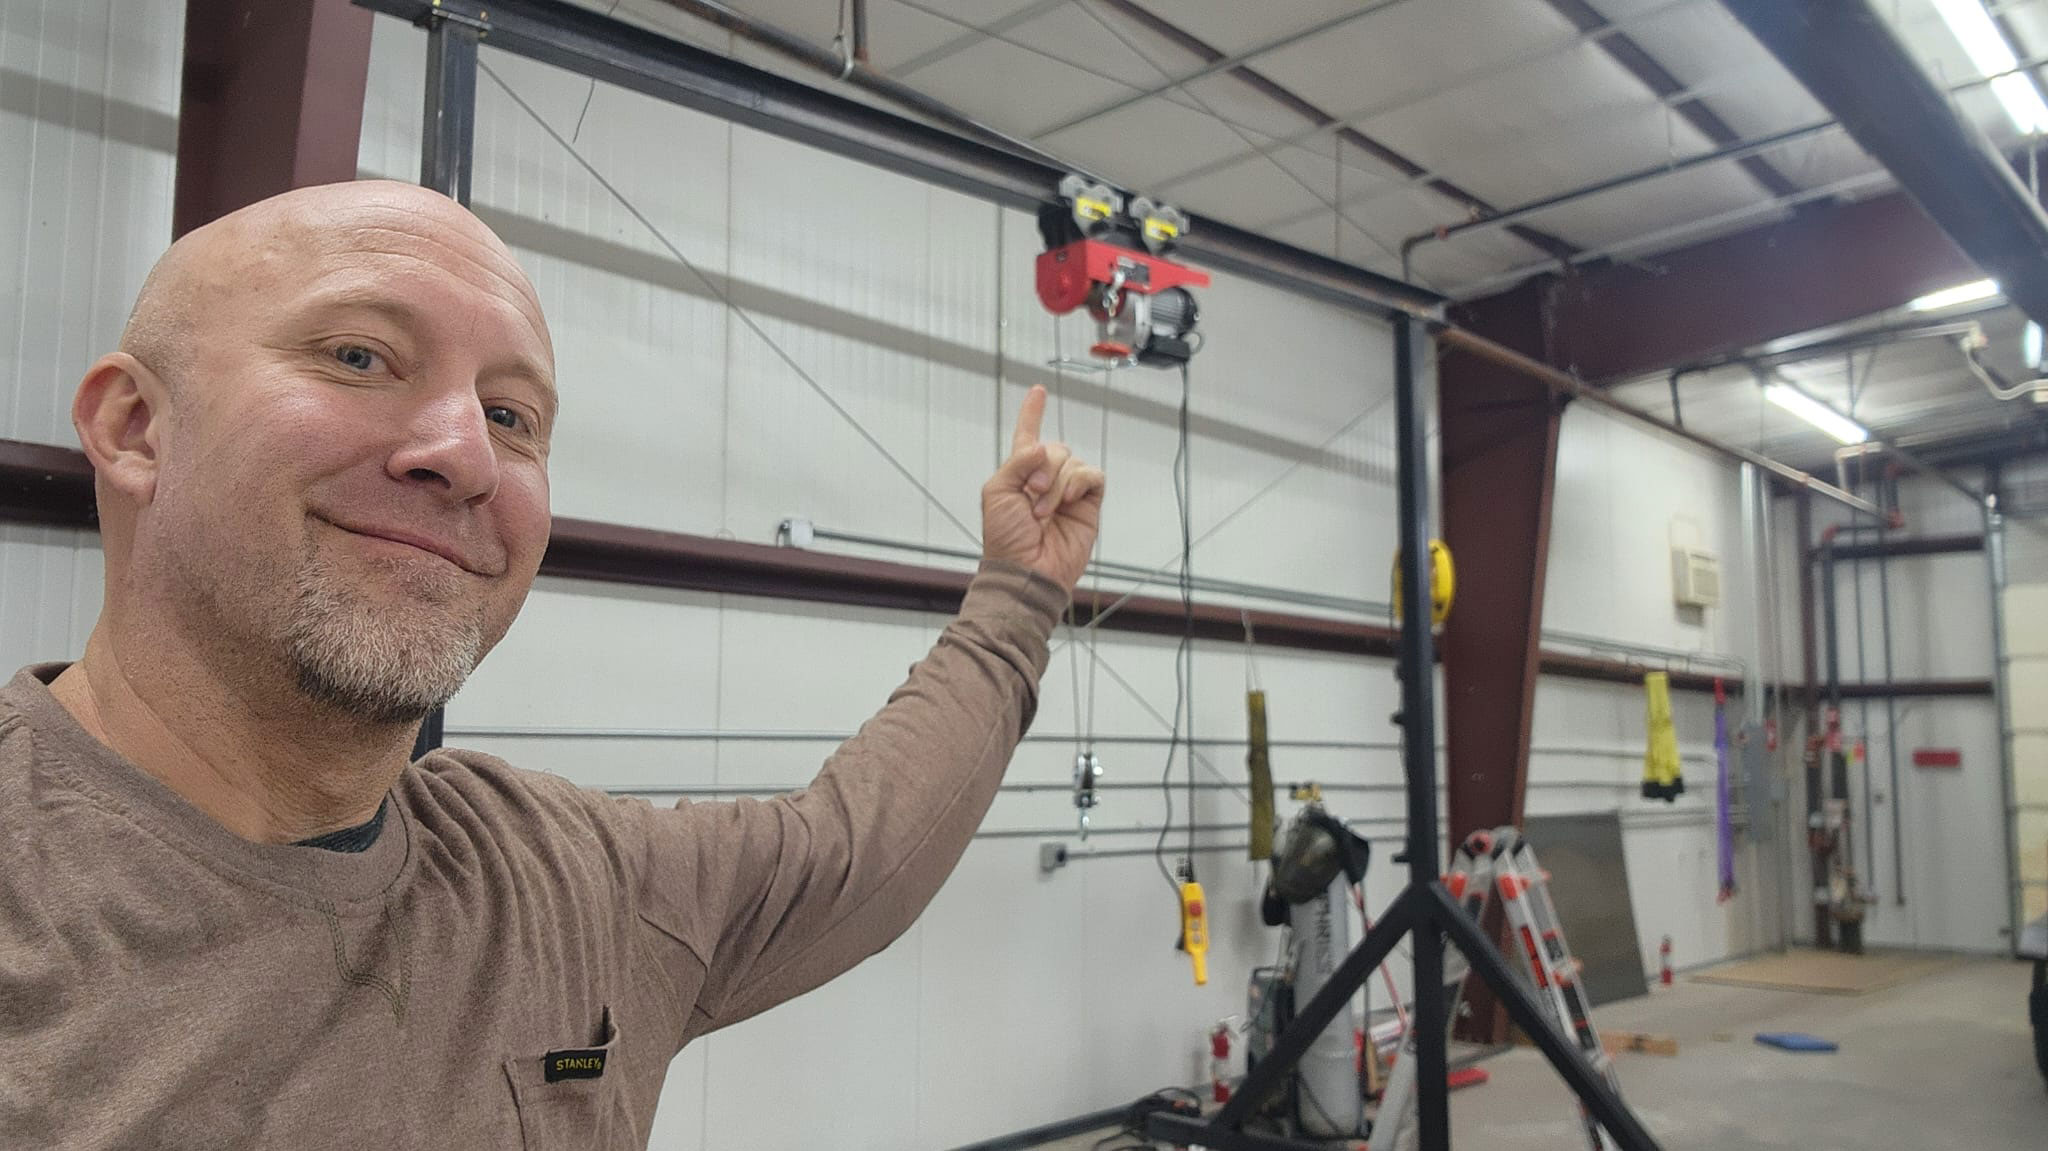
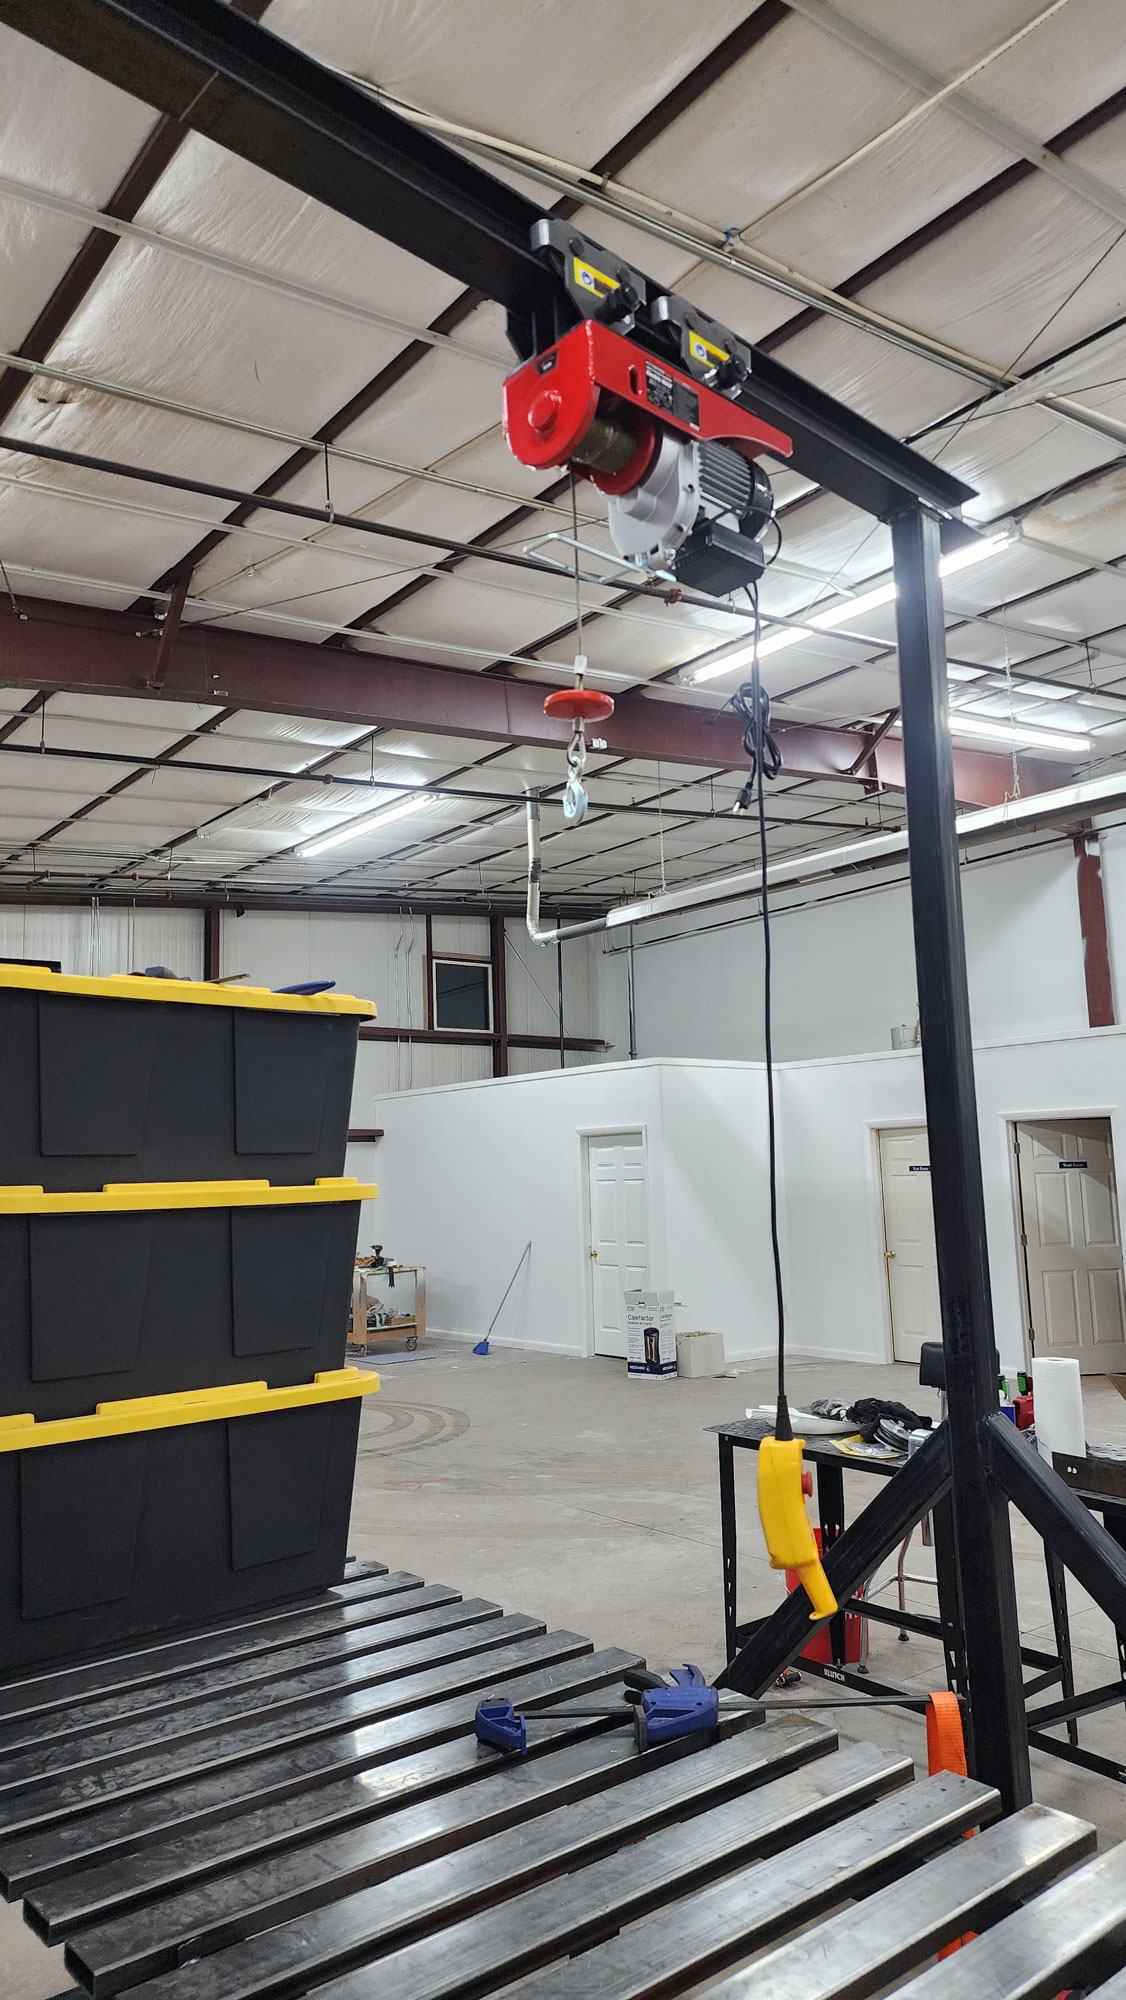
Now, the crane stands proud in my shop, ready to take on its first big job. Whether it’s lifting 4,000 lbs with the snatch block or moving heavy equipment, it’s a testament to the power of ingenuity, stubbornness, and a little help from your friends (and their forklifts).
Need a Custom Gantry Crane?
If you’ve got a big idea for your shop, don’t call me. Just kidding—I’d love to help! Now that I’ve conquered this build, I’m ready for the next adventure. Let’s turn your dream project into reality (minus the Shop Jenga and runaway trailers).
Bonus for Blog Readers: Mention this post, and I’ll give you $100 off your custom gantry crane project.
Follow My Adventures!
If you enjoyed this story, follow me on Facebook for more of The Hobbit’s Guide to Welding Adventures. Whether it’s gantry cranes, custom trailers, or my next ridiculous project, you won’t want to miss the journey.

